
PhoneScan IP Phone Automatic Provisioning App
How to provision IP phones in CompletePBX using PhoneScan mobile app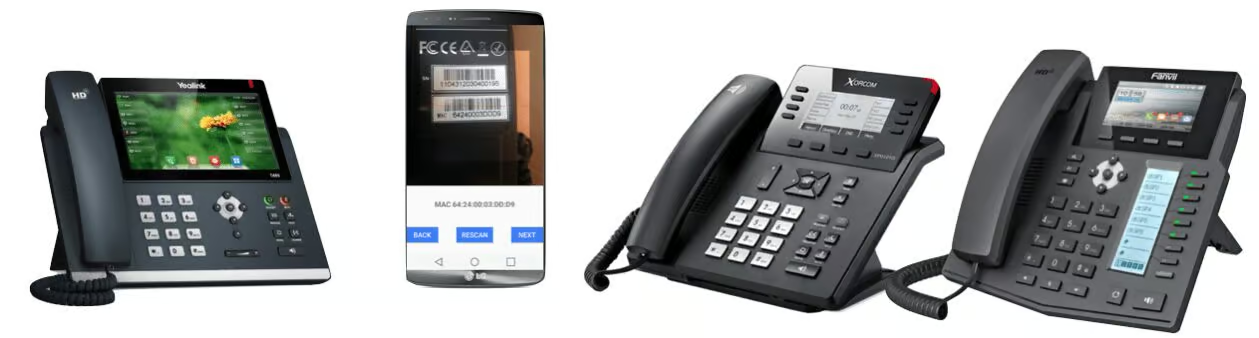
Xorcom PhoneScan Provisioning App is an automatic IP phones provisioning android application that works with CompletePBX Endpoint Manager to streamline system installation and IP phone provisioning. It saves a lot of time and effort in assigning phone for users, and it allows people that are not necessarily PBX technicians to perform this task simply via a mobile Android device.
Requirements
- Android device v.4 or higher with rear-side camera
- CompletePBX system should be licensed to use PhoneScan Provisioning App
Instructions
- Setup all the required extensions and devices in your CompletePBX system (PBX -> Extensions -> Extensions, or Import Extensions)
- Setup the required phone templates in CompletePBX system (Settings -> Endpoint Manager -> Create Templates)
- Download and install Xorcom PhoneScan Provisionins App on an Android device
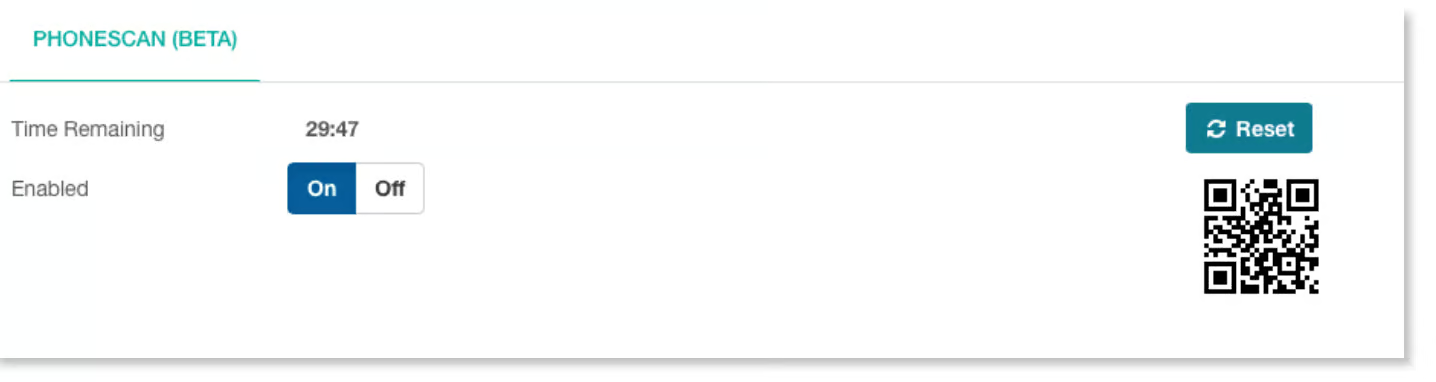
- In your CompletePBX GUI go to Settings -> Endpoint Manager -> PhoneScan
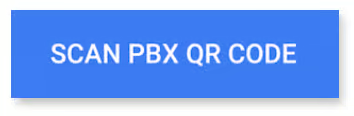
6. On your android device open PhoneScan, and tap Scan PBX QR Code.
7. A scanner will open:
8. Scan the QR code from the screen. This will connect PhoneScan to the CompletePBX system. You will get a confirmation notification in the app. Another scanner screen will open.
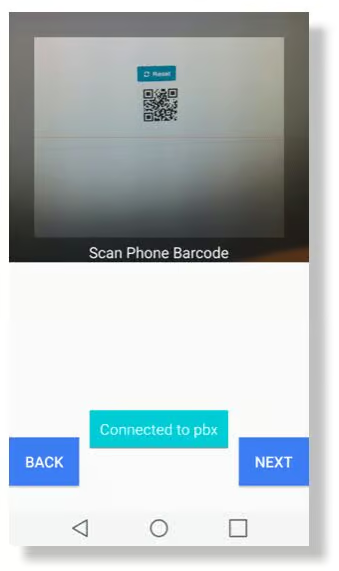
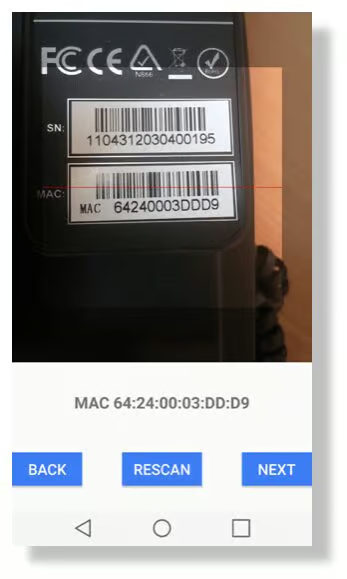
10. Tap Next
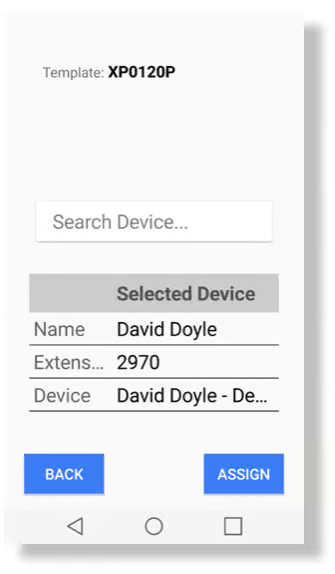
11. Tap Select Template to select the template you want to assign. If there is only one template for that phone model in the CompletePBX system, it will be automatically selected.
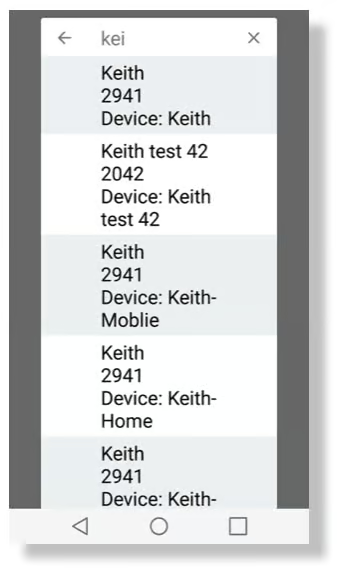
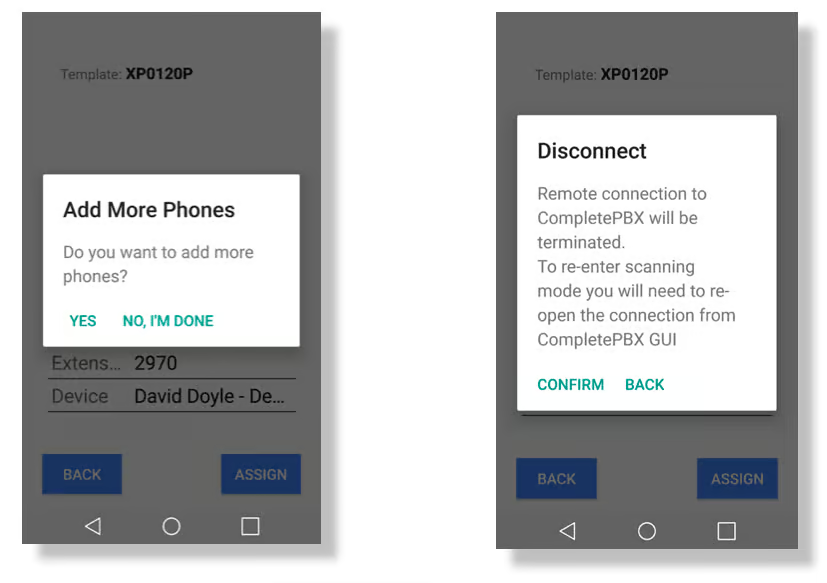
12. Tap Search Device and start typing Device Name, Extension Number or Extension name. Select the relevant device.
PhoneScan Provisioning App is now released in beta version.
We would love to get your feedback.