How to use CompletePBX Zero Touch IP Phone Provisioning
Streamlining the process of connecting new phones to your IP PBX system - the instruction Learn more about ZTP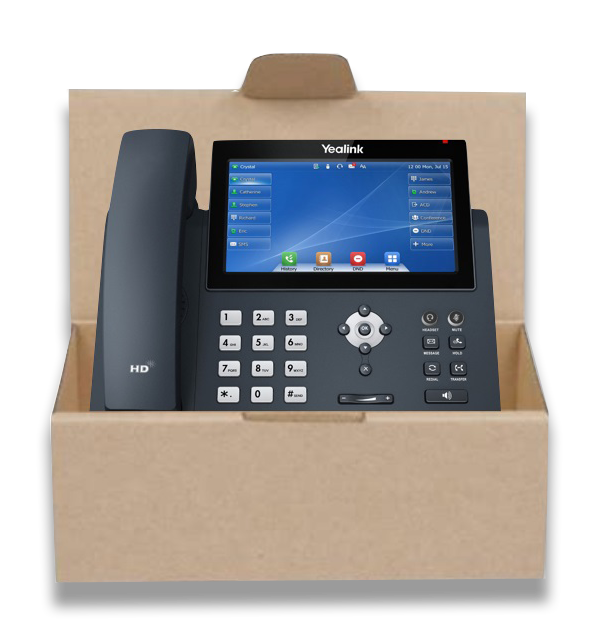
To use the zero-touch feature and get your IP phones up and running with minimal effort, follow the below instructions.
NOTE: As of the release of version 5.2.15, all Yealink IP phones with zero-touch capabilities are supported. Compatibility with additional vendors is coming soon.
Effortless (Zero Touch) IP Phone Provisioning with
Xorcom CompletePBX – Video Tutorial
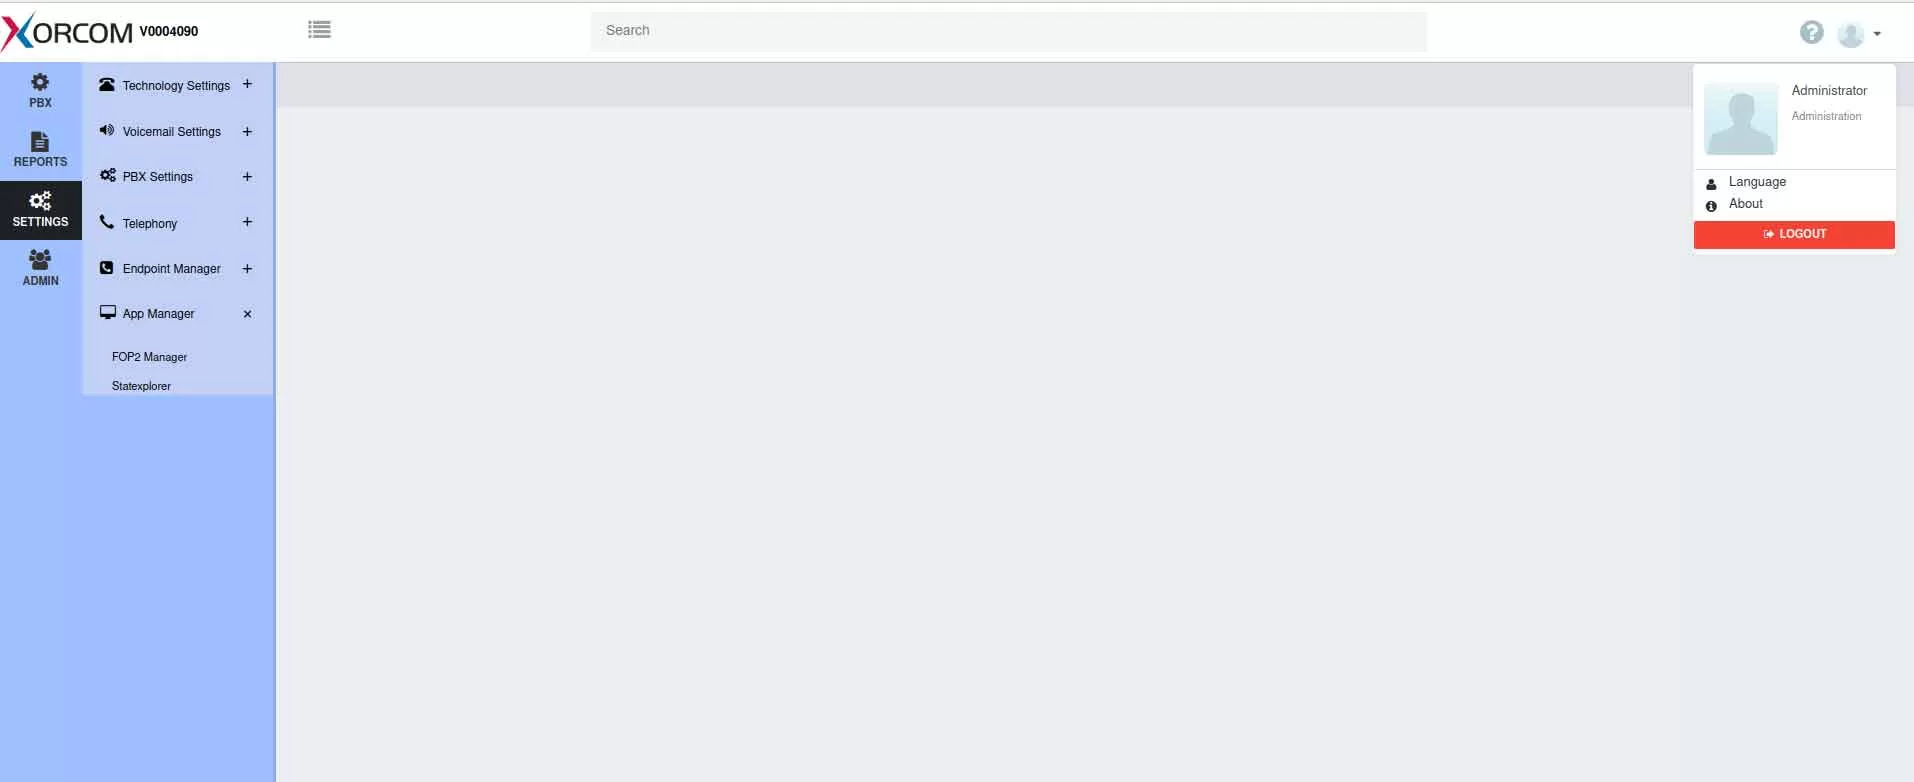
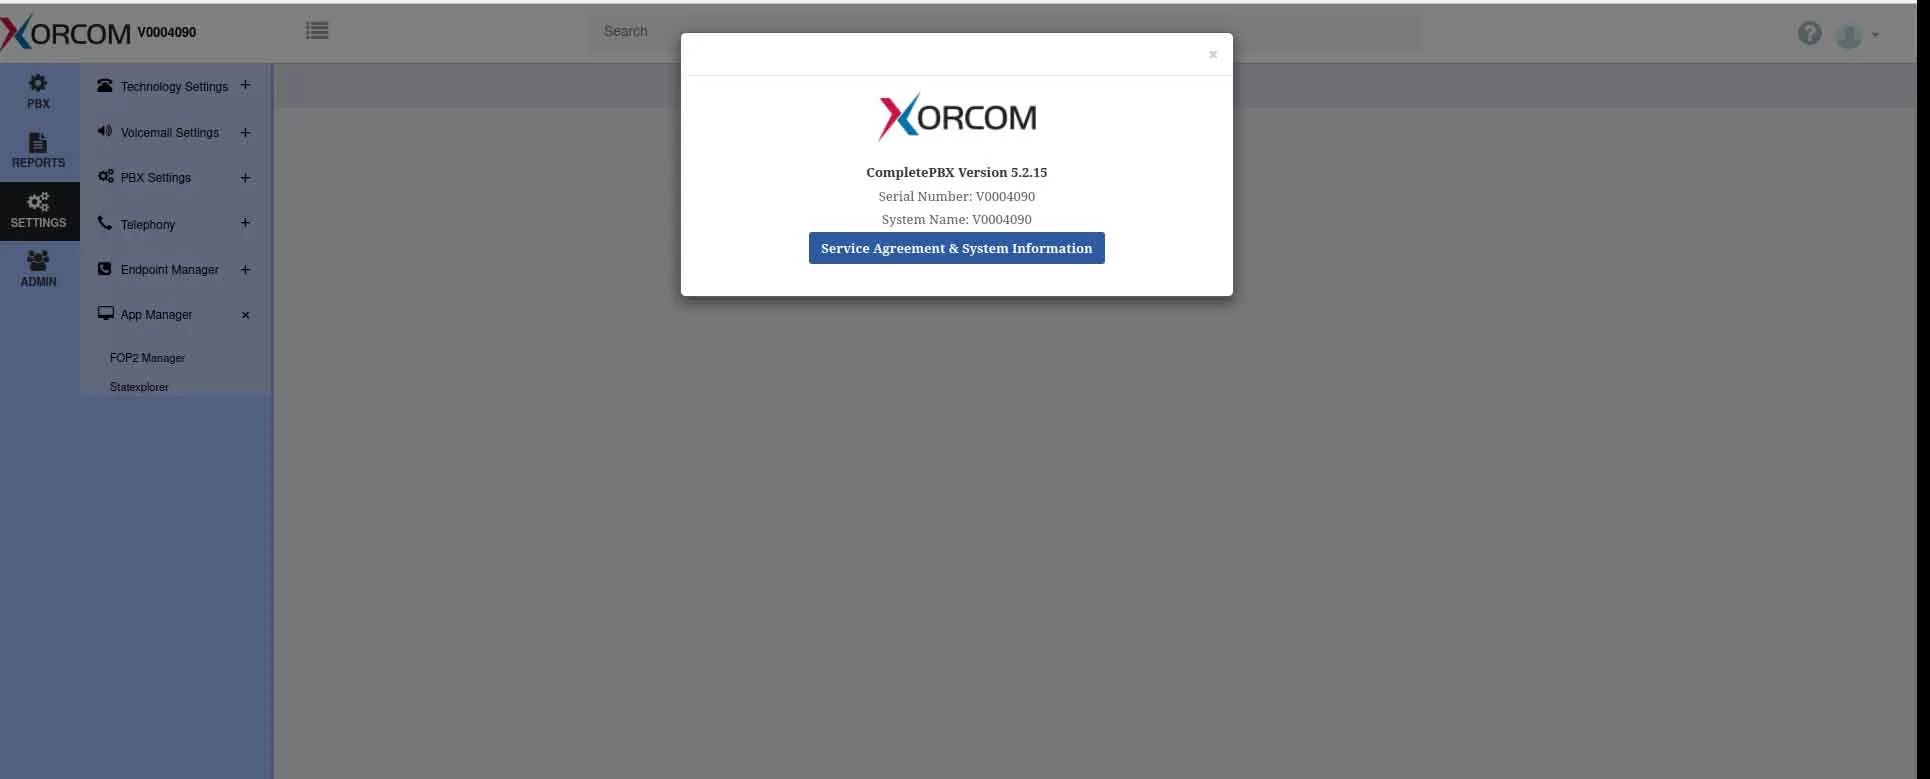
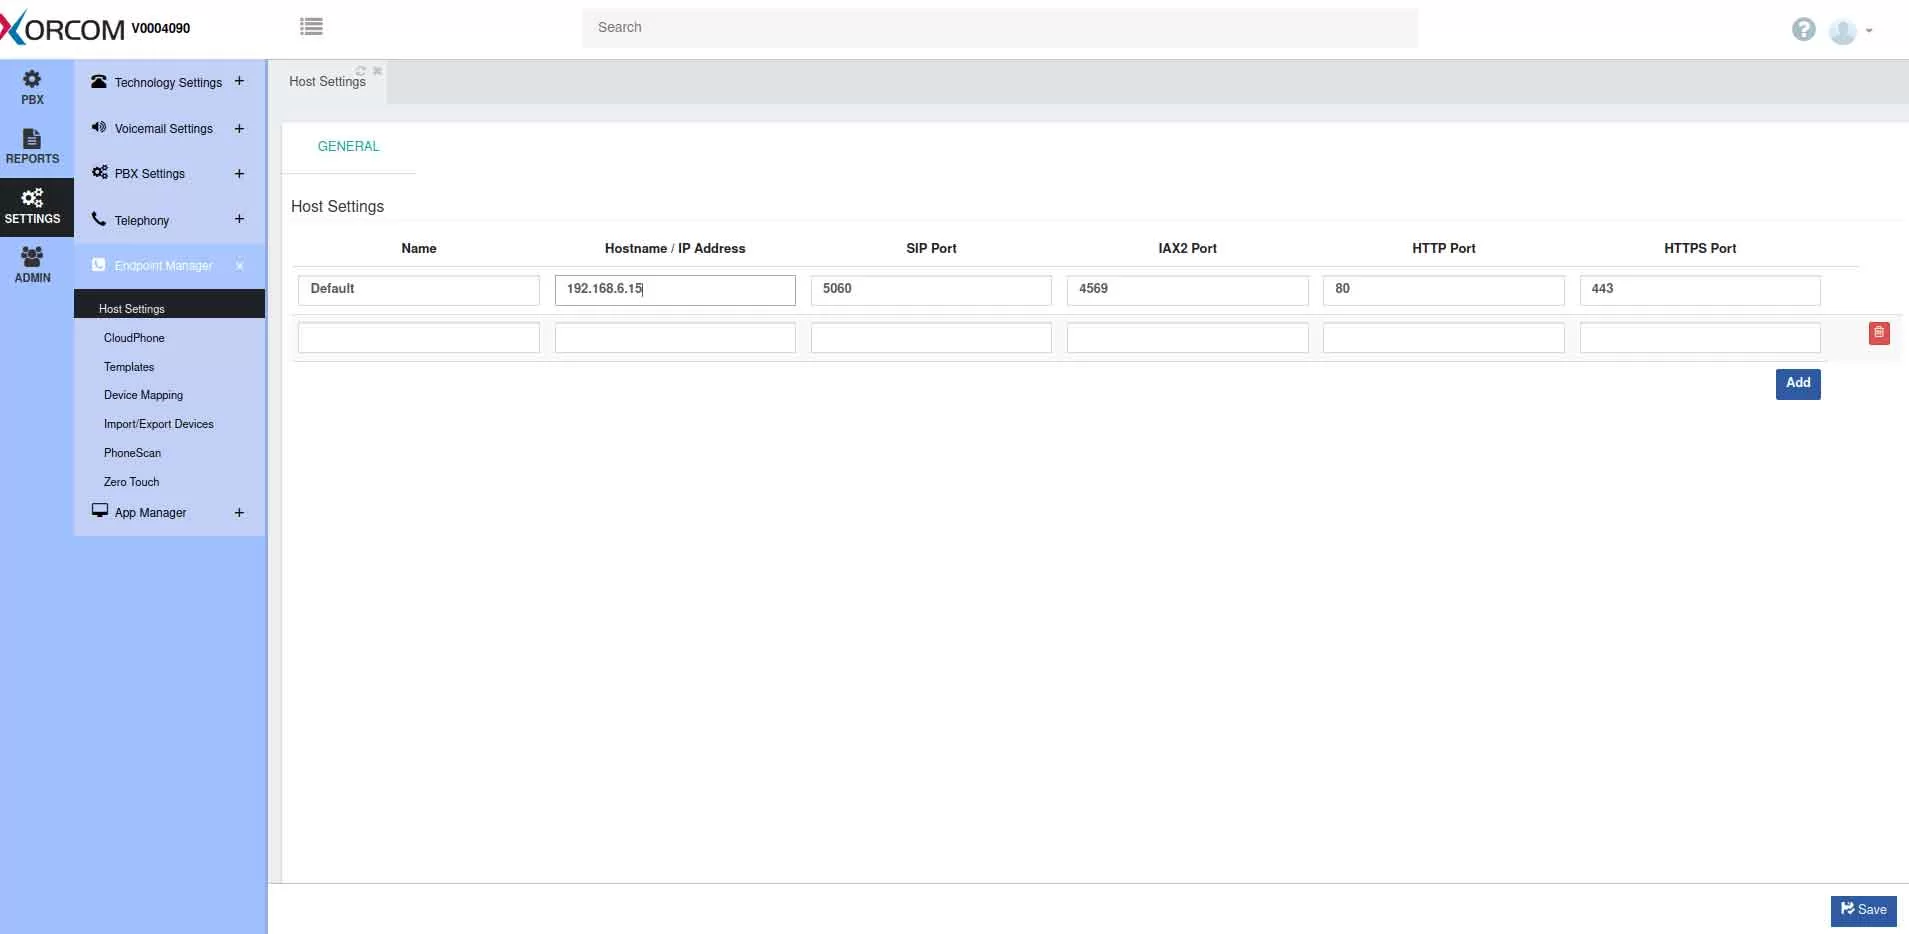
2. Go to SETTINGS -> Endpoint Manager -> Host Settings and set the host address
Option 1 – Using Import Devices
3. Go to Import/Export Devices
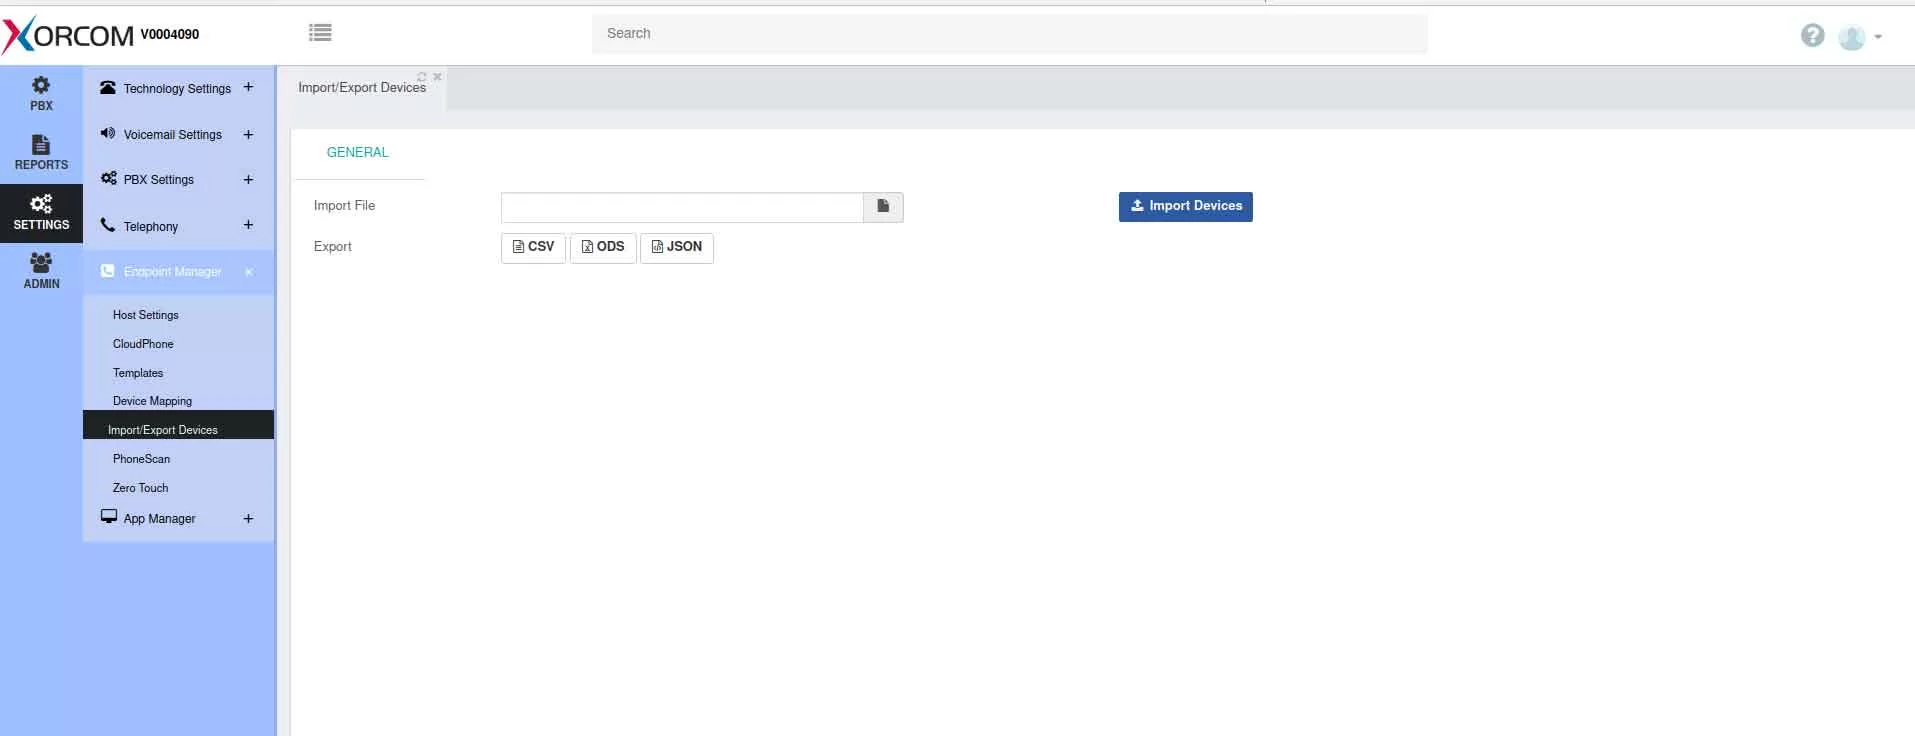
4. Export the current device list in CSV format (even if empty)
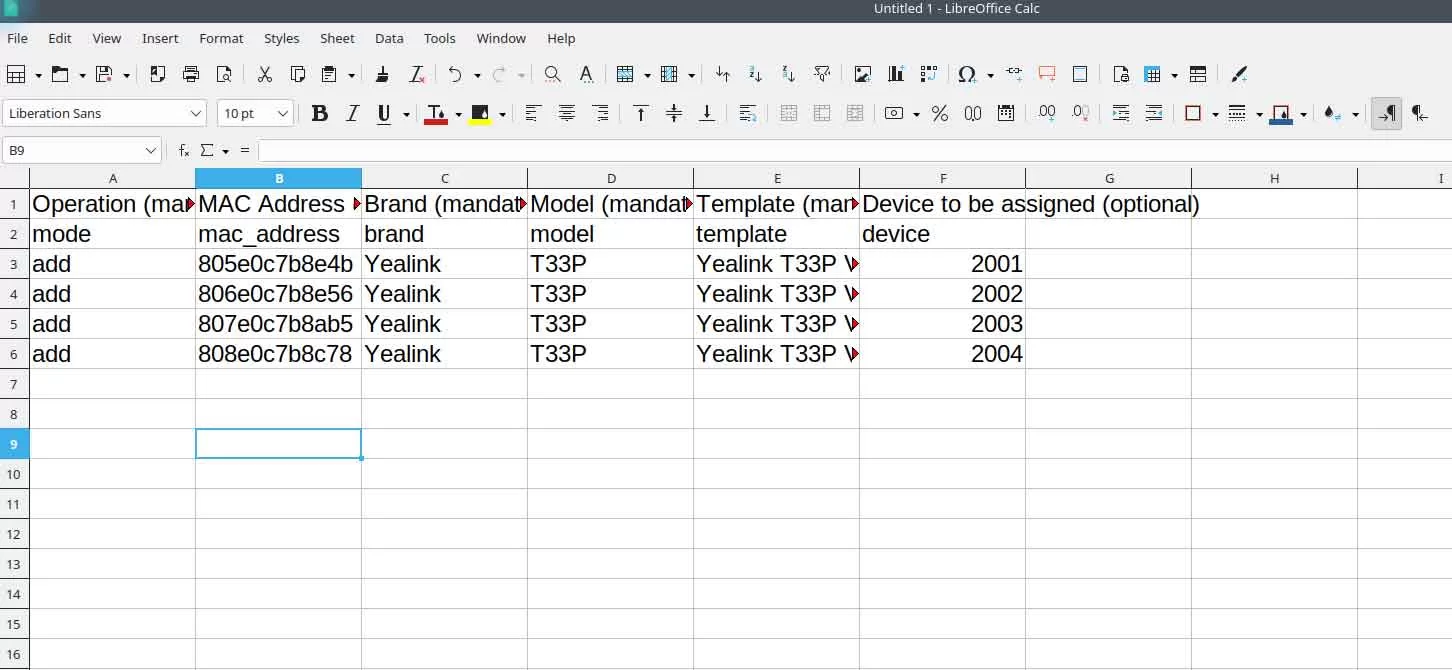
5. Fill in all the fields for all the devices you want to add.
6. Save the file in CSV format
7. In the Import/Export Devices dialogue, click Import Devices and select the saved file.
8. You should receive a confirmation that the import was successful. If you received any errors, fix the CSV file and go back to step 7.
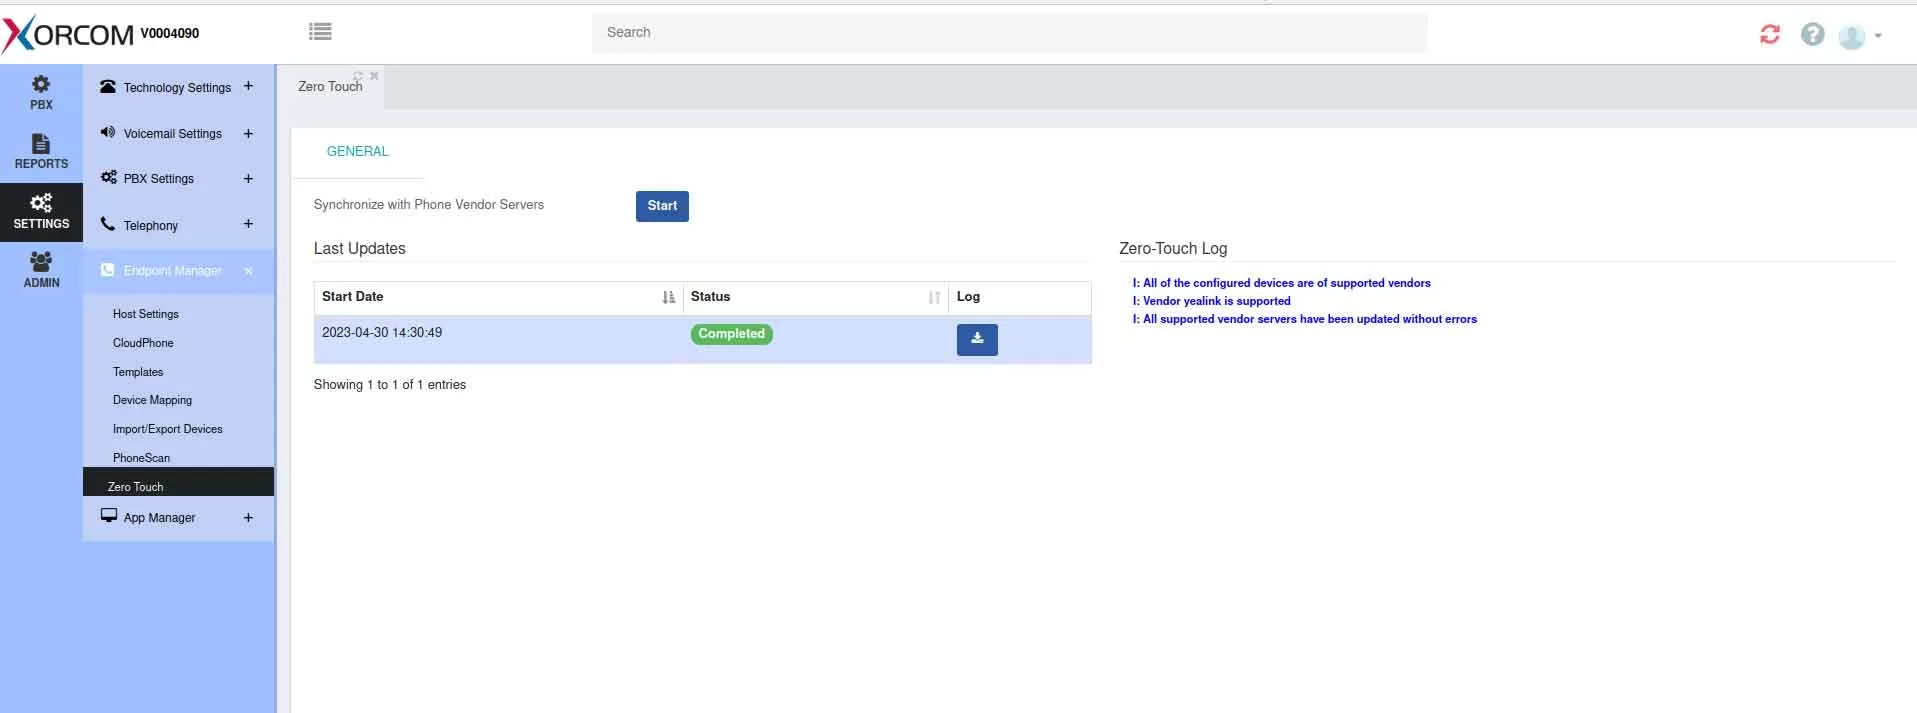
9. Go to Zero Touch and click Start to synchronize the data with the provisioning server. You should get a confirmation regarding the sync results.
10. Once you get confirmation about a successful sync, you can go ahead and take the phones out of the box and connect them to the internet. The phones will automatically receive the correct configuration and be ready to go.
Important Note: The IP phone will only attempt to contact the provisioning server when it is in its factory default configuration. If the phone’s configuration has been previously modified, you will need to reset it to factory default settings to utilize the zero-touch provisioning feature.
Option 2 – Using Device Mapping
3. Go to Device Mapping
4. Click Add a Device
5. Enter the MAC Address and select the details for the other fields
6. Go back to 4. for each additional device
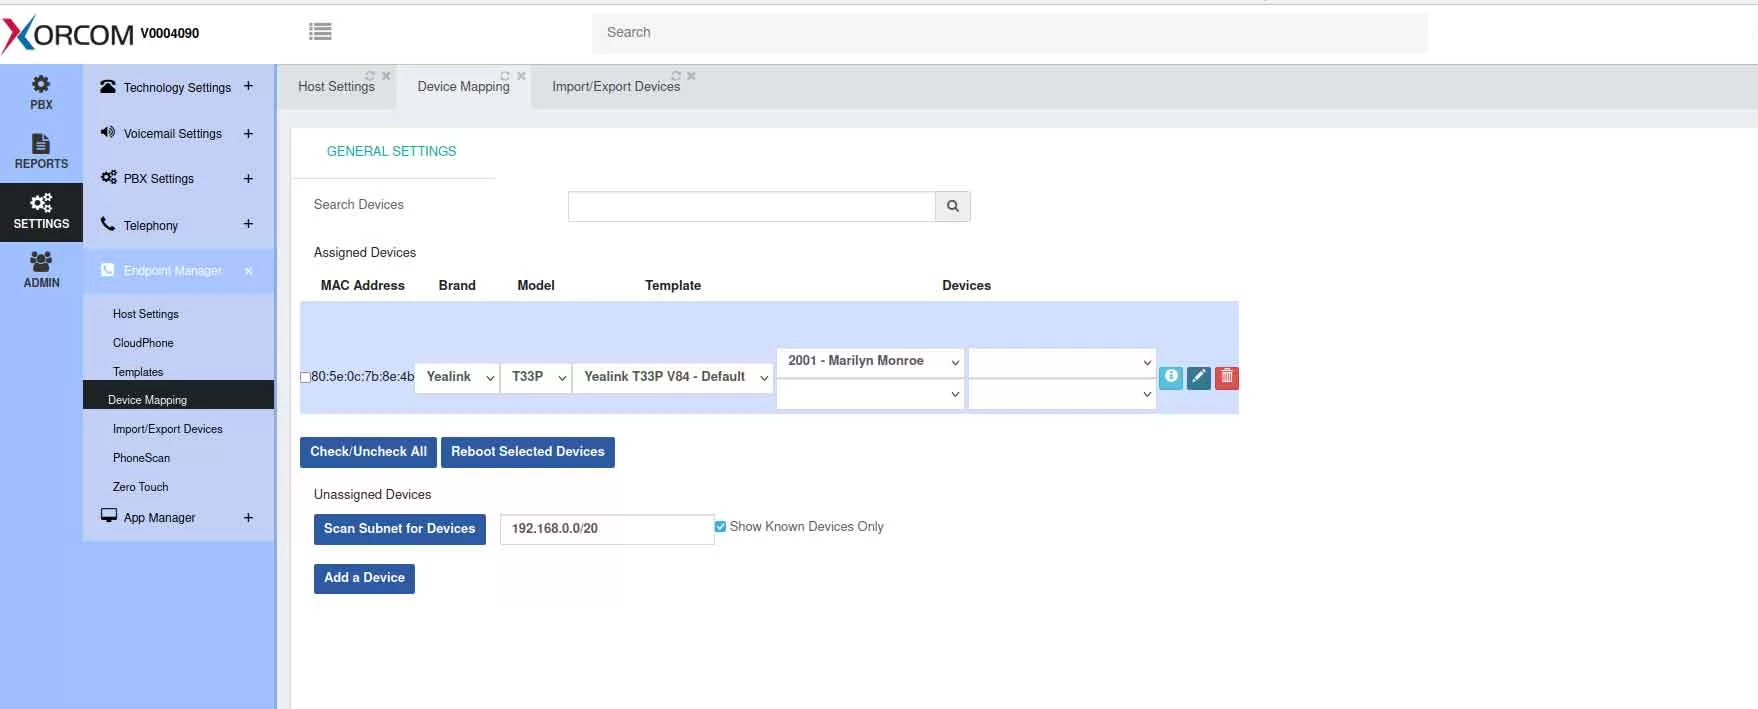
7. After adding all the devices:
8. Go to Zero Touch and click Start to synchronize the data with the provisioning server. You should get a confirmation regarding the sync results.
9. Once you get confirmation about a successful sync, you can go ahead and take the phones out of the box and connect them to the internet. The phones will automatically receive the correct configuration and be ready to go.
Important Note: The IP phone will only attempt to contact the provisioning server when it is in its factory default configuration. If the phone’s configuration has been previously modified, you will need to reset it to factory default settings to utilize the zero-touch provisioning feature.
